How to Make a Mini Paper Hat Easy
Supplies Needed
- Construction paper or cardstock
- Scissors
- Glue
- Pencil
- Ruler
- Compass (optional)
STEPS
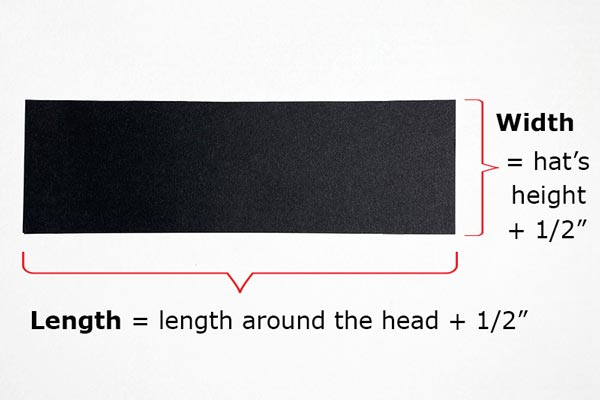
1Cut out a strip.
To make the hat's main section, cut out a rectangular strip out of cardstock or construction paper with the following dimensions:
Length - must be long enough to go around the doll or figure's head. Add an extra ½" or so for gluing the edges. My strip is 6½" long.
Width - defines how tall the hat will be. Add an extra ½" to ¾" for gluing the brim and the top piece. My strip is 2" wide, the resulting hat will be around 1½" tall.
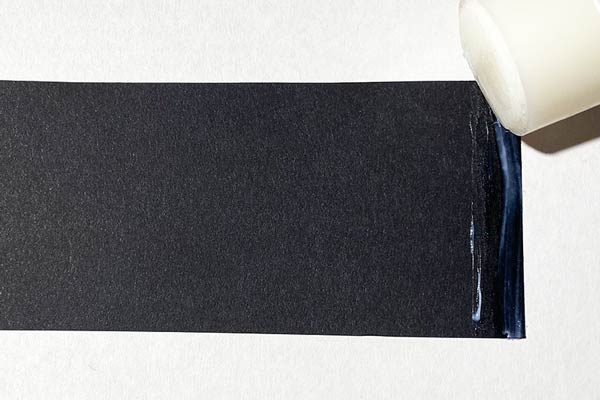
2Apply glue.
Apply glue on one end of the strip.
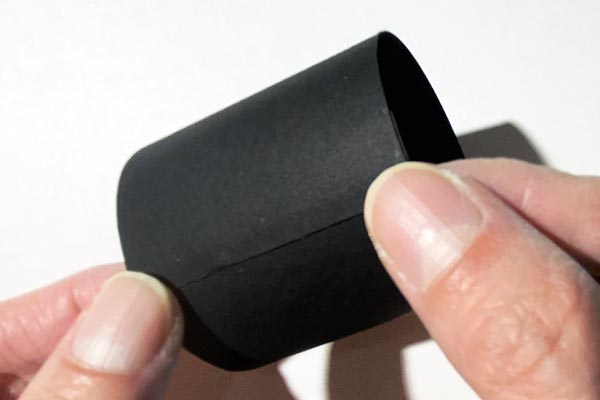
3Glue the ends together.
Bring the end with glue over the opposite end to come up with a cylindrical piece. This piece is called the top hat's crown. To make sure the hat will be a perfect fit on your doll, place the crown's opening on your doll's head and adjust the overlap as needed.
Once happy with the fit, press on the seams to glue in place.
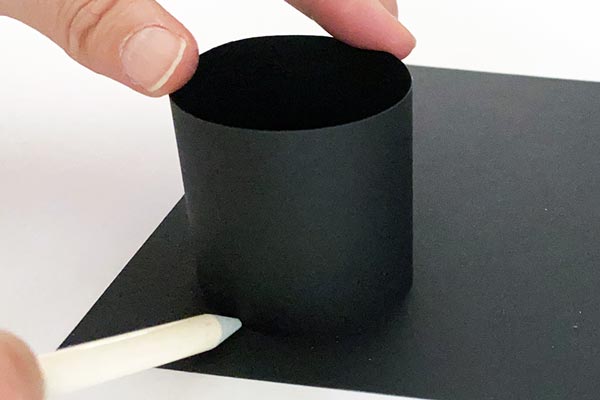
4Draw a circle.
Place the crown upright on a sheet of cardstock or construction paper. Use a pencil to trace around the crown's round base.
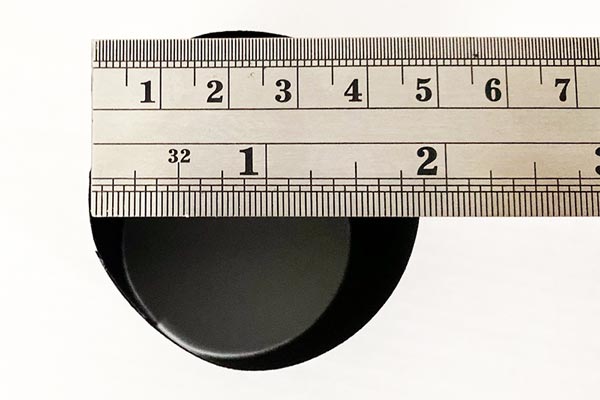
If you want a perfect circle, you will need a ruler and a compass. First measure the diameter of the crown's base with a ruler (e.g. mine is 1.8"). Next, set the distance from the point of your compass to the pencil's lead at half the measured diameter (e.g. If the diameter of the crown is 1.8", the distance must be 0.9"). Turn the compass to draw a perfect circle.
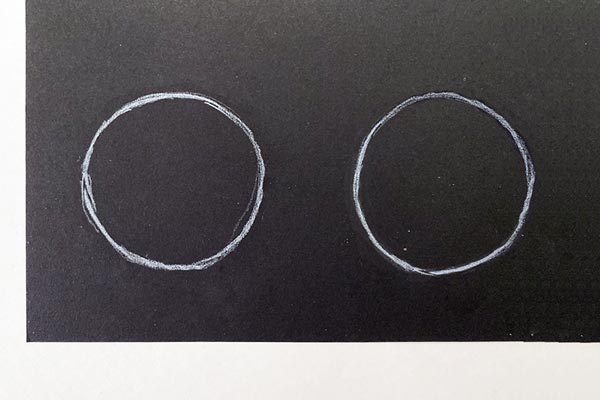
5Draw another circle.
Repeat Step 4 to create an identical circle. Make sure there is ample space between the two circles.
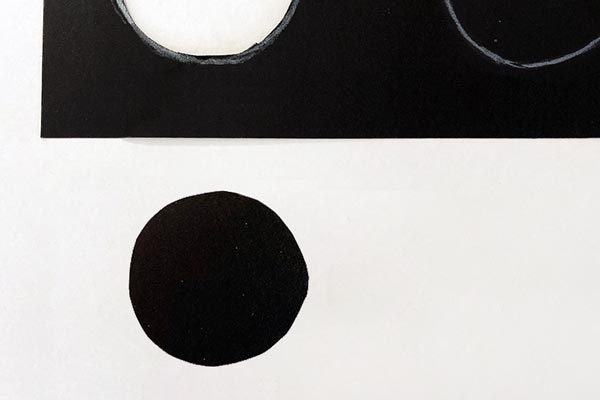
6Cut out the first circle.
Cut out the first circle and set it aside. This will be your hat's top piece.
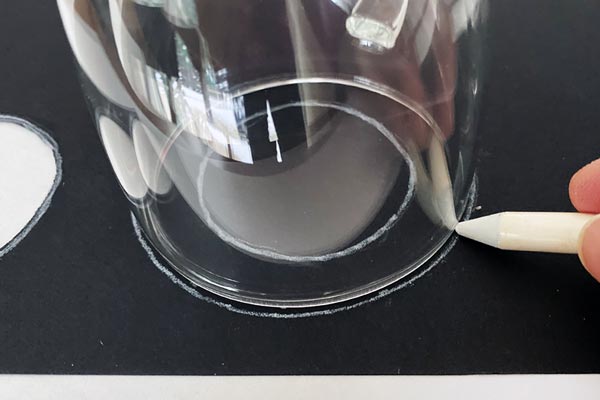
7Draw a third circle.
To create a brim, draw a slightly larger circle around the second circle. The larger your third circle is, the wider your hat's brim will be. The distance between my two circles is ½".
To draw the circle, you can use a compass, a cup, or just draw the circle freehand.
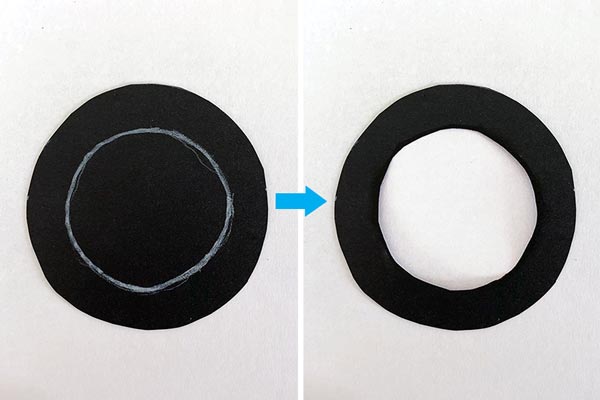
8Cut out the brim.
Cut out the outer circle, as well as the inner circle to come up with the hat's brim.
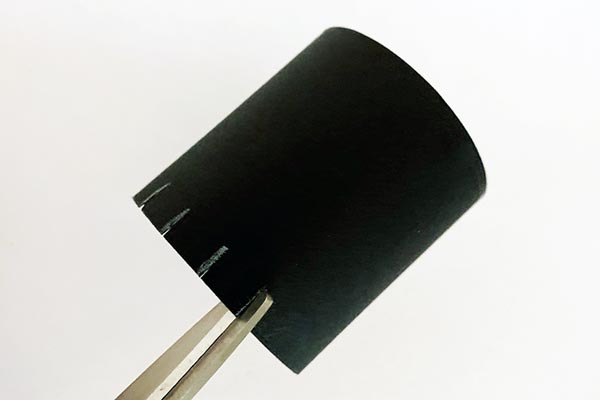
9Cut slits at the base of the crown.
Cut short vertical slits at the bottom of the crown. Mine are ¼" long.
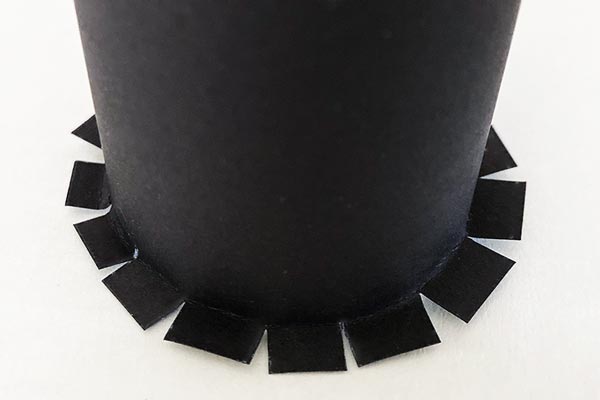
10Fold out the fringes.
Fold the fringes outwards.
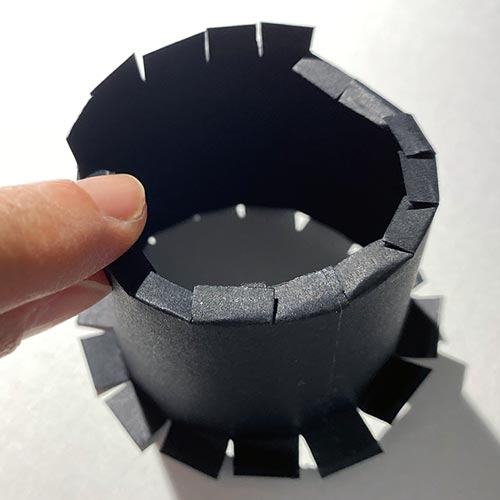
11Cut slits and fold in the fringes.
Similarly cut short vertical slits at the top of the crown. This time, fold the fringes inwards.
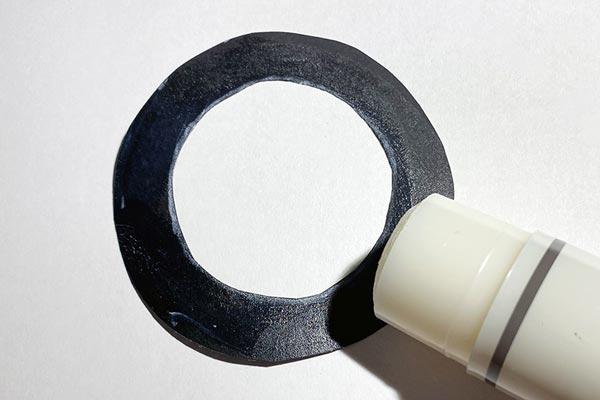
12Apply glue on the brim.
Apply glue on the entire surface of the brim.
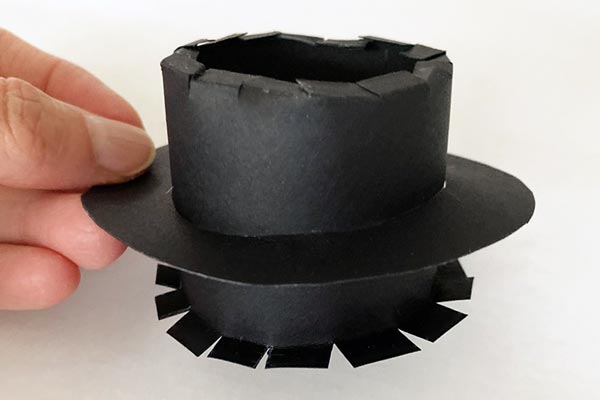
13Place the brim.
Insert the brim from the top of the hat, glue side down. Move the brim all the way down until it reaches the base of the hat.
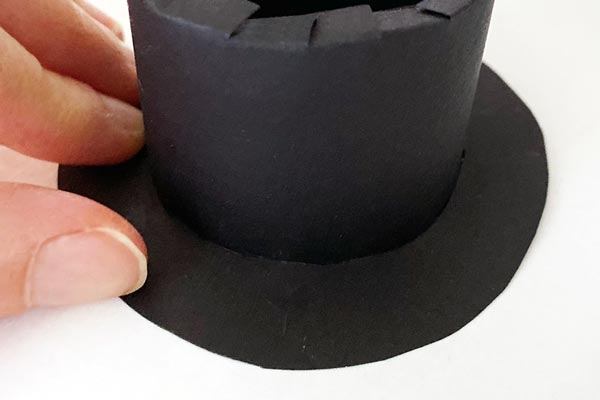
14Glue the brim.
Press on the brim to glue it onto the hat's bottom fringes.
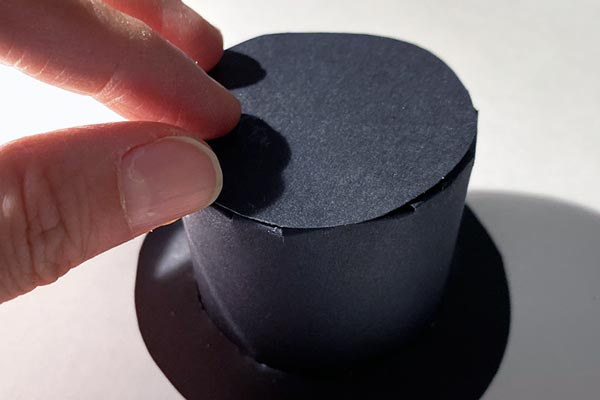
15Glue the top piece.
Glue the remaining paper circle on top of the hat.
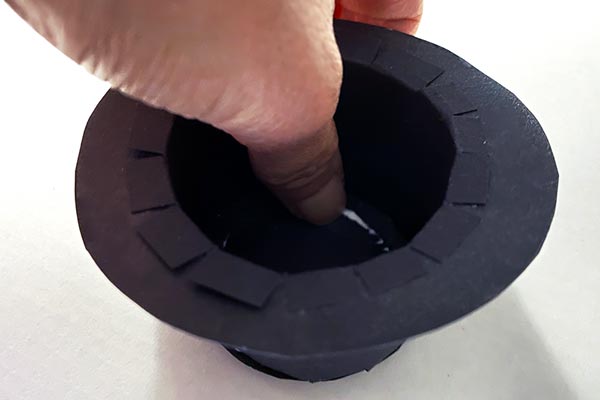
Turn the hat upside down. Press on the fringes from inside the hat to glue the top piece in place.
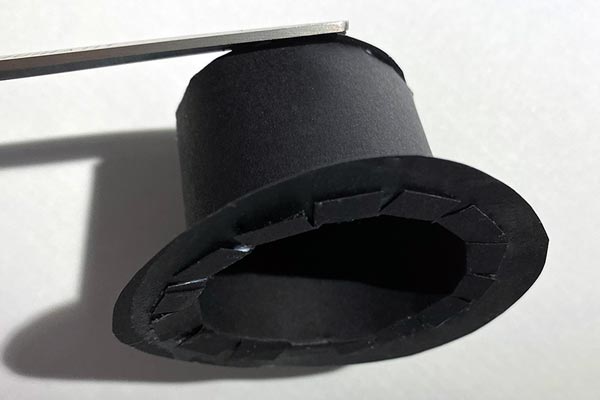
16Trim the edges of the top piece.
If the top piece is slightly larger, just trim the edges.
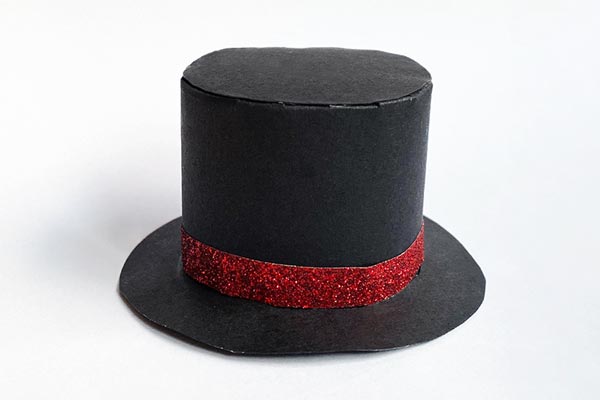
17Add a band.
Cut a strip of paper, ribbon, fabric or washi tape long enough to go around the hat. Glue this at the base of your top hat.
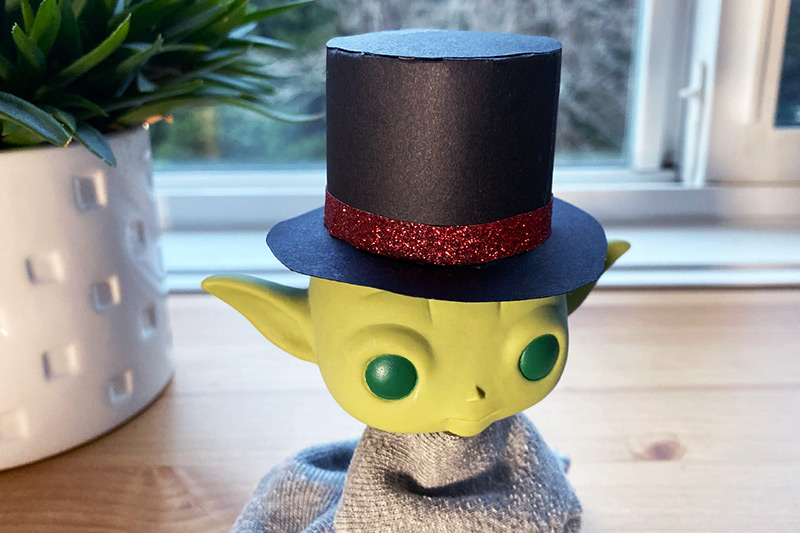
18Use the top hat.
Put the top hat on the doll or miniature figure's head.
You Might Also Like
Comments
Source: https://www.firstpalette.com/craft/tiny-top-hat.html
0 Response to "How to Make a Mini Paper Hat Easy"
Post a Comment